Saturday, August 10, 2013

Bathroom Reno {Part 2, When Hardwood and Plywood Collide & Updating Our Bedroom floor}

So when I left off last in my bathroom adventure I had found hardwood under linoleum and a whole bunch of glue. 


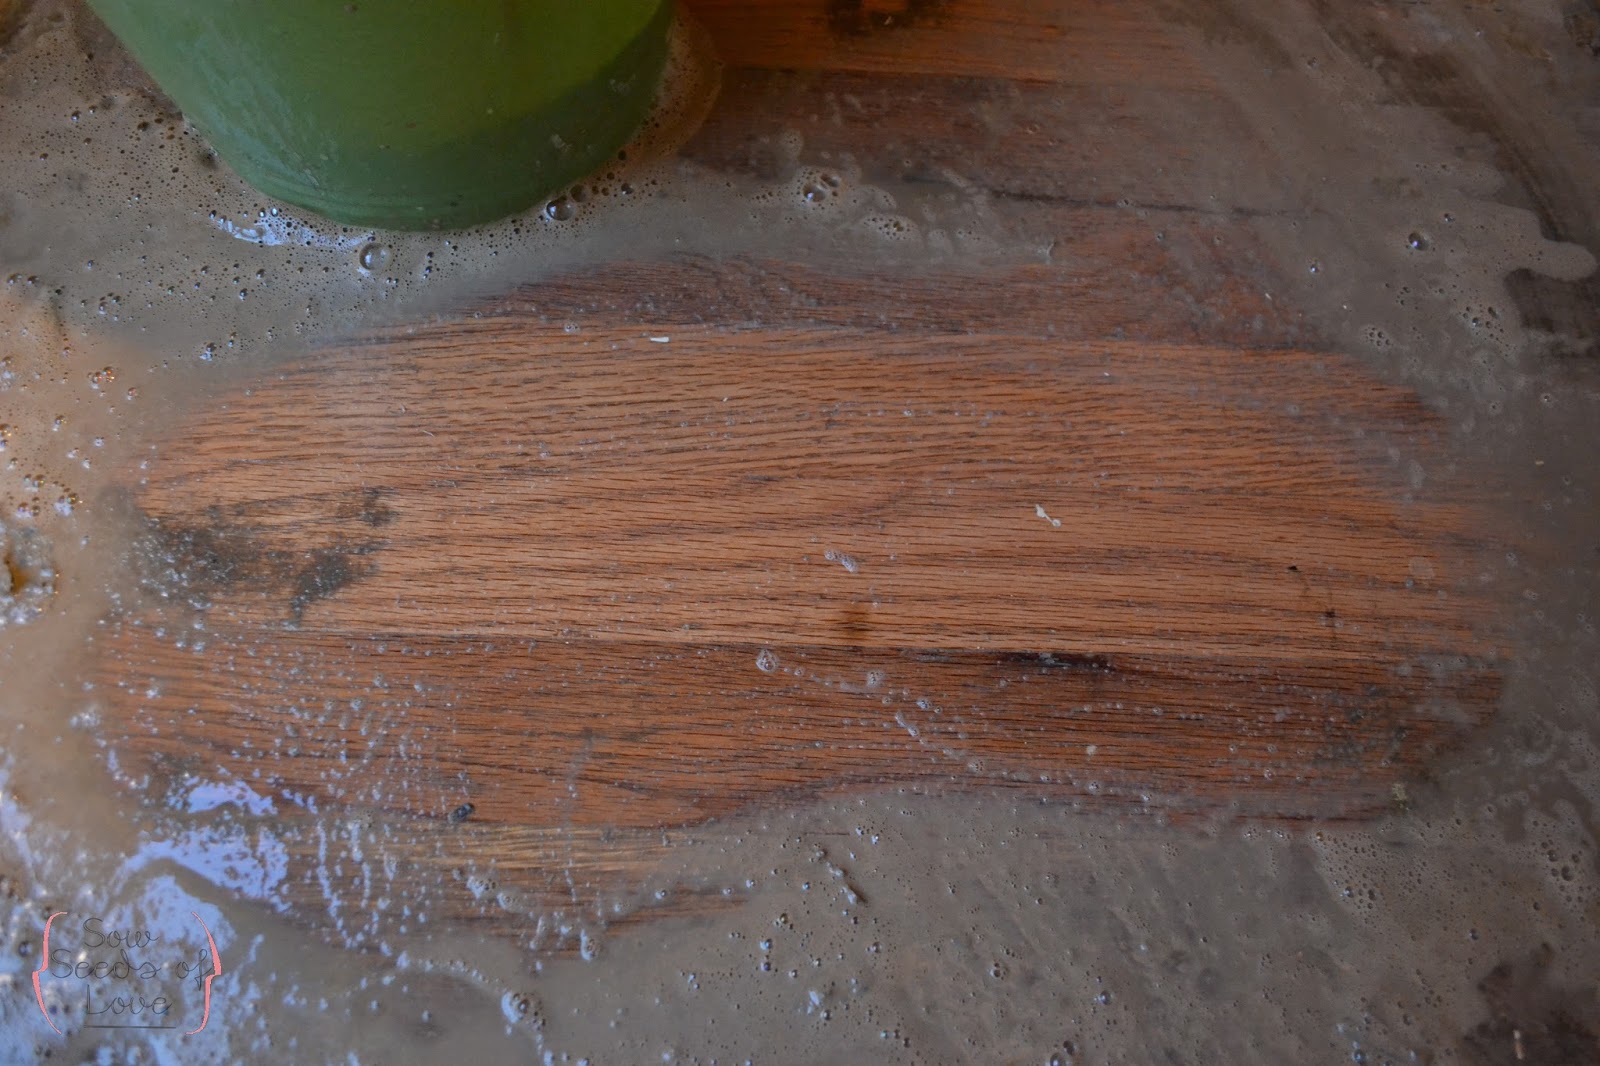
So I got down to business pouring on the varnish stripper to unleash my floor's hidden potential. I decided that this wood be a perfect time to update our bedroom floor as well, our bedroom and bathroom flow right into one another so that was the only logical thing to do. I used Citristrip and my very sophisticated mop tool (just a rag attached to a Swiffer mop) to spread the Citristrip on the floor.


I didn't have to spread the stripper on very thick and I let it sit for about 45 minutes and the stripper was able to easily remove all of the varnish from my floor. I used a scraper to remove the Citristrip and varnish goop and lots and lot of rags aka old t-shirts.


 My next issue was the giant piece of plywood surrounding the "toilet hole".


 Most of the plywood will be covered by the toilet but there is a section to the left that really stuck out. I decided that I could cut out that section and replace it with hardwood and then stain it to match the floor.


It took a hammer, drill, dremel and a jigsaw but I was finally able to cut out the eyesore-ish plywood piece.


I cut pieces of oak plank to fit my space and used my Dremel to smooth out edges.


After my wood filler was dry and my oak pieces set into our empty floor space, and problem solved!! Now I was ready to get down to business and stain my floor!! 


Even though I stripped the floor it was still kind of covered in dried residue and soap water and a mop wasn't exactly getting my floor clean...


I thought rubbing alcohol might work better....and it did!!


I used rubbing alcohol and a scrubby sponge with a handle and go all of the icky residue off the floor.


The alcohol evaporates much much quicker than water so you aren't left with weird water marks, plus you are able to stain the floor sooner, rather than waiting a hours for water to dry completely.


I love the way these dark stained, lovingly worn floors look. 
I knew this was the look for me!


So I chose Rust-oleum's Kona wood stain, it's a really pretty dark stain. I used the little staining sponges that I found on the aisle next to the stain and wiped the excess off with an old t-shirt. This formula is really great and each coat dries in about an hour so you can reapply to to deepen the color pretty quickly.
This is after one coat of stain..


I was really impressed with how well the color took in just one coat. I've never stained a floor before now, I was a little nervous but I was surprised at how easy and user friendly the whole process was.
This is after three coats


               Just a side note: The reason these bathroom floor pictures look so shiny is because the coats of stain are still wet. I couldn't wait! I had to take their pictures! I then got                                     busy staining the rest of the floors in our bedroom.


Next was varnish time! remember when I said I like the "Lovingly Weathered" look? Well that's why I chose satin for our floor finish. I didn't want our floors super glossy, I just wanted them to look soft and time worn. I used this Varathane finish and it too is fast drying, has no odor and was really easy to use... it's basically perfect.
I found the floor finish moppy thing beside the floor finish. It too was really simple, just like mopping but just making sure I was applying in nice even coats. the floor finish is a hazy, cloudy bluish white when it's wet so it is really apparent where you have applied it and where you haven't.

Here is what our floors looked like before....

 They aren't HIDEOUS but they are obviously stained in certain spots, scratched in others and I'm really just not wild about the tone.
I'm much happier with our dark stained floors, I think they are beautiful and will contrast really nicely with our soon to be white trim!

And here is the after. AHHHHHHH! Go ahead, take it in.


Sunday, August 4, 2013

Bathroom Reno {Part 1}.


Remember this lovely and outdated bathroom that I introduced everyone to here?
Well, it's back!!!! But not for long...


When I made the "priorities" list of house renovations this bathroom was numero uno! 
I just couldn't take the super creepy cement prison-like shower; because let's face it, a prison shower is pretty creepy.


Destroying this shower was a little more of an undertaking that I had originally assumed but I can say that I am super happy that I just took the plunge and did it and I'm so relieved that the demo phase is over. I like tearing things apart as much as the next girl but this shower was it's own special breed of horrible. What you are looking at in the above picture is all the layers that I had to bust through to take the shower down. 
outer layer- cement
2nd layer-metal mesh
3rd layer-more cement
4th layer-old crumbly drywall
last layer- super old insulation
Just a side note about the insulation, This stuff was GROSS. it was so old and sticky. It was the exact consistency that cotton candy gets when it melts. if anything touched it, it would just kind of melt down into a clump, so obviously that had to go too.


I scraped off ceiling tiles, busted up concrete and my arms were so angry at me at the end of every night. It took me roughly a week of working only after Grayson went to sleep for the night to get the shower completely dismantled and all the debris hauled out to the truck. 


Clean up was by far the WORST!!! Hauling broken up cement is hard, it's heavy, dusty and trash bags have a hard time holding it in. But LOOK, YAY! No more prison shower!!!


Since I was on a serious roll today after I cleaned up the remaining debris I pulled up the UGLY faux pebble linoleum {reference the first photo}. The plastic linoleum came up fairly easily, however the paper backing and massive amounts of glue stayed really stuck to the floor. I contemplated the best ways to get up the glue. For a hot second I considered sanding it, but that is really dusty and annoying besides the fact that we live in quite an old house and since I'm not too certain when that linoleum was glued down I didn't want to take any chances with the mysterious and dangerous chemicals that might be present. I gave some hot water, soap and a sponge a try.


I scrubbed it on and waited....


And waited...


And to my surprise, the glue came up SO easily and found hardwood underneath! And since there was wonderful hardwood underneath, which we will be keeping I get to take our floor tiles back to Lowes and save myself about $300, not counting grout and additives. 
Hows that for a demolition!


Sunday, June 30, 2013

Little Boy Turns One Year Young.

Happy, Happy Birthday,
To Our Sweet Baby Boy!!


Today our darling little boy turns one whole year old! 
Yesterday we hosted his very first Lorax themed birthday party for our friends and family and had such a wonderful time.


Grammy and GIGI came to visit, which is always a special time.


I've been working the past few months preparing for my Boy's party! I knew we'd be moving in just as we hosted his party ( I might be the only one in the world crazy enough to do that) so I prepared early.


G totally devoured his cupcake in just about one bite! Probably to make himself feel better after he cried during the birthday song, he's an emotional eater ;)


I think Alex and I had more fun playing with the rolling train table we made for Grayson, it was a lovely way to wind down after a full evening of partying.


We were totally and completely EXHAUSTED after last night but we could not ever ask for a more perfect little boy, or the friends and family that shared his special day with us!


I'm totally in shock that our little tiny is already one! It's been a great year and has flown by.....needless to say TWO can stay away for as long as possible :)